How to quickly test your VFX in the Unreal Editor
Welcome, fellow game enthusiasts! I know firsthand how daunting it can be to learn the ins and outs of video game creation. It can be especially tough when you're trying to learn on your own, without the guidance of a formal education or structured online course. But fear not, my friend - I'm here to help!
When I first started creating VFX, I stumbled my way through it, piecing together information from various sources. I would try to learn how to make certain materials or effects, but without a clear understanding of the bigger picture, it was tough to optimize my workflow. I'll never forget the frustration of spending hours tweaking my VFX, only to realize that I had been testing it in the wrong window all along! As it turns out, testing your VFX in the editor window can make all the difference. I would only test my effects inside Niagara, which often left me scratching my head when my VFX didn't quite look right in-game, especially after adding post-processing effects and other enhancements.
If you're in the same boat I was in, struggling to figure out how to test your VFX in the editor window, don't worry. It's actually a lot easier than you might think! And the best part? You don't have to be a coding wizard to do it.
I’ll teach you now! it’s really quick and easy!
Make it stand out
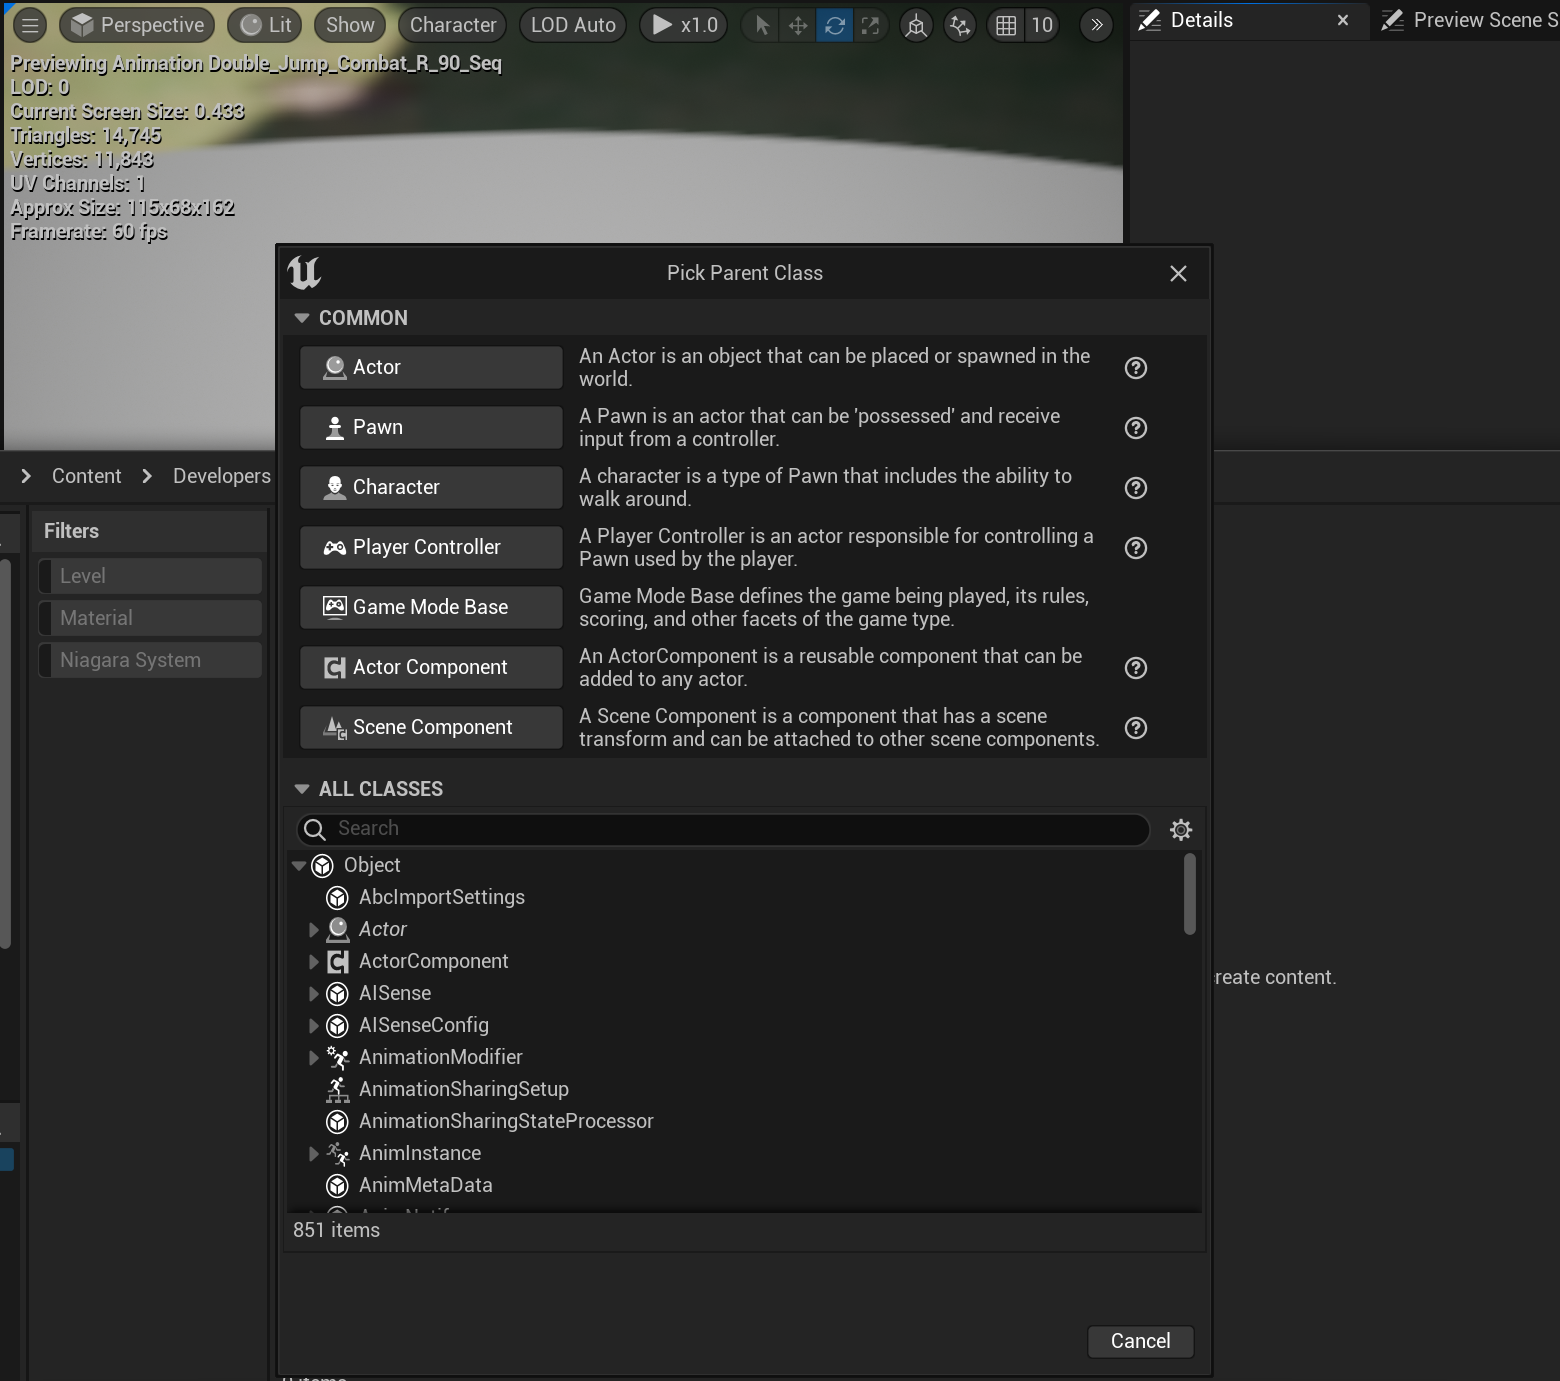
Right click on an empty space on your content browser, go on Blueprint, then select “Actor” as shown !

Make it stand out
Lets double click it! once you are in, grab your Niagara effect and place it on DefaultSceneRoot !
Click your Niagara Effect, and on the right side detail panel, please disable “AutoActivate”

Make it stand out
Click on Event graph, so we can add some nodes and modify the blueprint!
Click on the “Event BeginPlay” Arrow, drag it, and type “Enable Input” after that, out of “player controller” drag and type “get player controller” this will allow us to configure a button later, so we can activate our effect.

Make it stand out
Click on any empty space, and type “keyboard” then select the key you want! we will use it to spawn our effect.

Make it stand out
Click and drag from “Pressed” and type “Activate” choose the activate that has the name of our particle!
And that’s it! your next step is going to your editor window, and drop the blueprint in the game map! now when you press play you can use the keyboard shortcut you chose to make your effect spawn as many times as you want!
I hope this was useful, I’ll see you on the next one !